Latest products
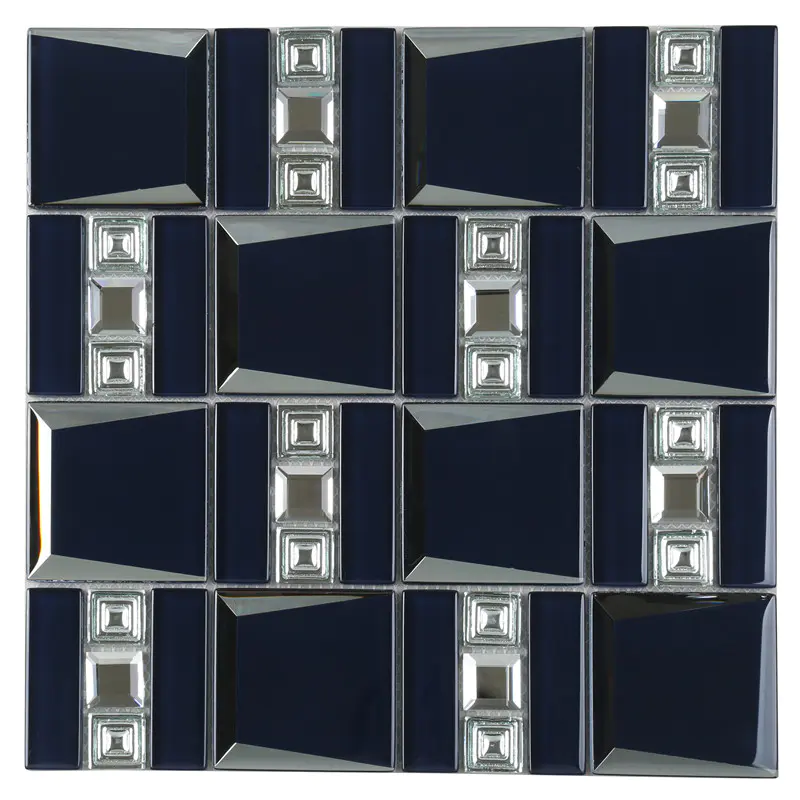
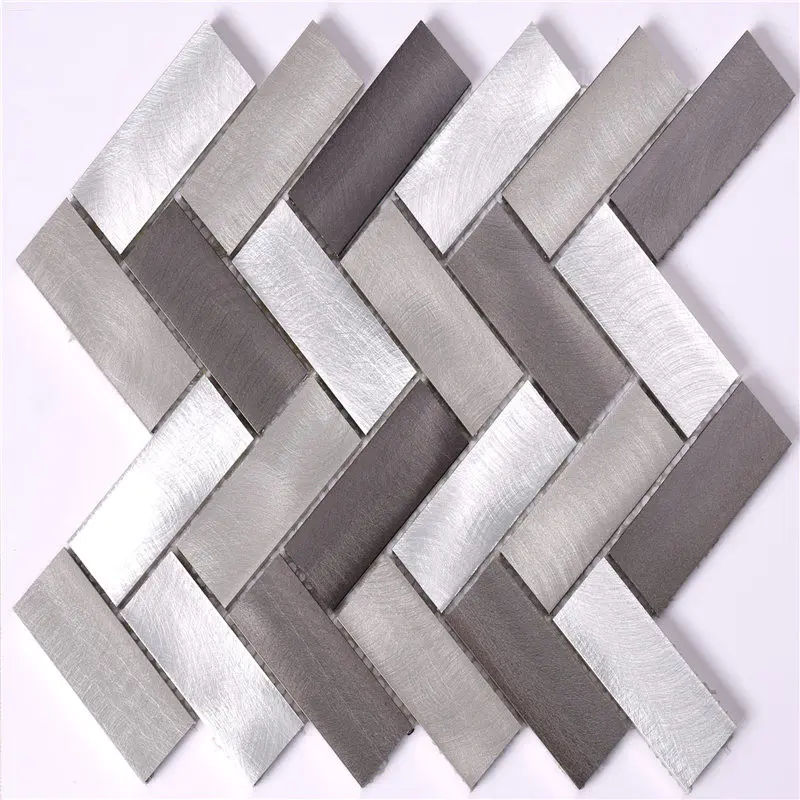
Ocean Mosaics Tiles
by:Heng Xing
2020-08-05
To minimize each tile to the proper width, place the tile in opposition to the ceiling in the space the place it’s to be put in, and mark the quantity that needs to be eliminated . This large-format glass has a translucent utilized backing, so any voids left within the mortar would possibly show via as shadows after the mortar has set up. For this tile, spread a fair layer of glass-tile mortar on the wall and comb it with a 1/4-inch sq.-notch trowel.
Butter the back of every tile with a thin layer of mortar, then press the tile into place, sliding it aspect to aspect barely to embed it totally. The mortar on the again of the tile helps to fill any small voids within the mortar layer. Next examine the space from the band to the ceiling to make certain that the tiles alongside the ceiling shall be close to the width of a full tile. Narrow slivers are undesirable from a visible standpoint as well as being problematic to cut and install. Before finalizing the layout, verify the ceiling to make sure that it’s near being degree and that there aren’t any major discrepancies on the adjacent wall.
Cutting tile for a ceiling strip, for example, is finest done a number of tiles at a time. To avoid chopping tiny glass slivers to fill in along a nook, regulate the tile spacing as a substitute. Then slide a row (or rows) of tiles over with a flat taping knife until a suitable grout area is left along the nook. By slitting and adjusting a number of rows on this manner, it’s possible to make up for gaps as extensive as 3/16 inch. Spread the glass-tile mortar as much as the road as earlier than, combing it with a notched trowel and then knocking the ridges flat.
Note that staggering the seams of the sheets is not essential but can be carried out. After each section is placed, go over it with a rubber grout float, gently tapping it flat towards the tiles to fully embed them into the thinset. Wall prep for a glass-tile installation begins with a coating of a liquid stress-crack membrane (the darkish area in the photograph), similar to Hydro Ban. Tile can slip when put in on the membrane, so I add a skim coat of glass-tile mortar or latex-modified mortar.
Then I sand down any high spots before proceeding with the set up. Choosing the correct mortar isn't more important than with glass tile. Glean a morsel of inspiration from our in depth glass tile picture gallery. Here, a band of mosaic frames a mirror and rings the shower wall, adding a success of glamour to simple area tile. Countless choices for colour, form, and floor texture let you create a standout effect even with just a little bit of tile, so that you needn’t bust your price range.
Custom message