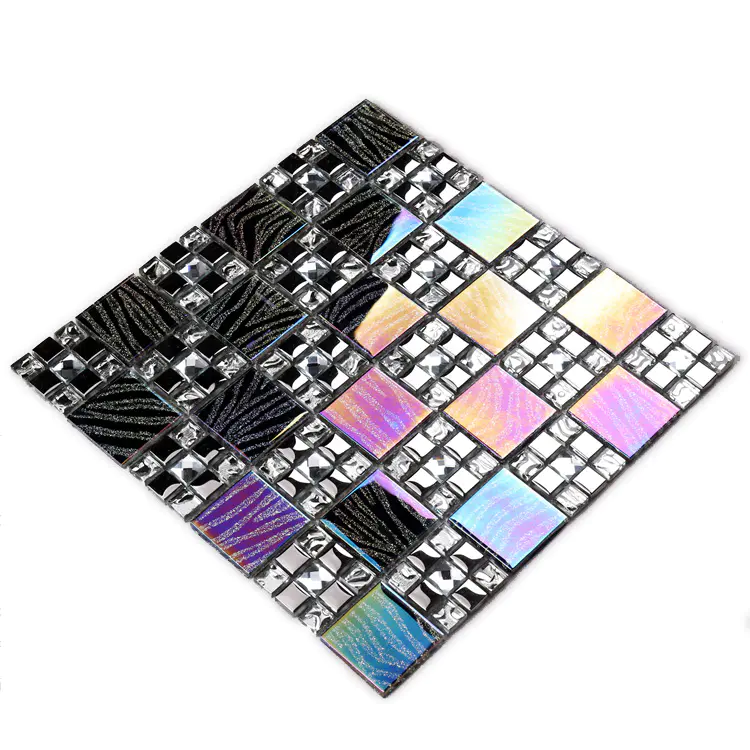
Newly Introduced Inkjet Printing Machine is Ready to Run
Technique of Handling Tile
by:Heng Xing
2020-04-12
Here are simple instructions for installing ceramic wall and floor tiles.
Virtually all common home surfaces which are true, level, free from moisture and foreign matter are suitable for receiving tile. In any area affected by steam or water, the base surface should be covered with two coats of primer, the second applied at right angles to the first.
All joints and apertures, such as those for bathroom fixtures, should be sealed off with a waterproof tape.
To begin tiling, install the bottom row first. Establish a level line for it. If the floor is not level, make cuts in the bottom row of tiles. If this is done, the top row of the wainscot will be level.
CUTTING
Simply draw a pencil line over the glazed surface parallel to the raised bars on the back of the tile, take an ordinary glass cutter and score the surface along the line. Then place the tile, glazed side up, over a nail and press on either side of the scored line. The tile will part cleanly down the line.
For special cutting, such as around fixtures, use pliers to nip off small chunks of the tile. Then smooth the surface with a Carbo-rundum stone.
Tiles in the bottom row should be 'buttered' individually with a small dab of adhesive and then pressed against the wall. Don't put on too much adhesive; it may ooze out of the joints between tiles.
After setting the first row, spread a thin layer of adhesive over several square feet with a saw-tooth trowel. Press the tiles firmly into place with a twisting motion of the hand. Spacing bars on the edges of wall tile will keep the pieces a uniform distance apart.
Once a wall has been tiled, let it set for a day or so that the volatile elements in the adhesive can escape. Then soak the joints between tiles with a wet sponge at least four times at five-minute intervals. A gallon of water is enough for about 50 square feet of tile-work. Soaking - thorough soaking - is done so that the tiles will not draw water from the fine cement, called grout, used to fill the spaces between them.
GROUTING AND FINISHING
Commercial grout is a fine white powder. Mix it with water to the consistency of heavy cream. Let it stand for 15 minutes and remix. The mixture can be applied to the tile joints with a sponge, a squeegee or by hand with a pair of rubber gloves. Fill the joints completely.
Going over the job with the end of the handle of a toothbrush will give it a professional finish. It will help to force the grout into the joints, too.
Cleaning is simple. A damp sponge or cloth will remove the excess grout from the face of the tile. A dry cloth should be used for polish.
But before the final polishing, all the grouted joints should be wet down with a sponge several times in the next four or five days, so that they will set properly.
Custom message
Related Products